Web Inspection Measurement Geometries
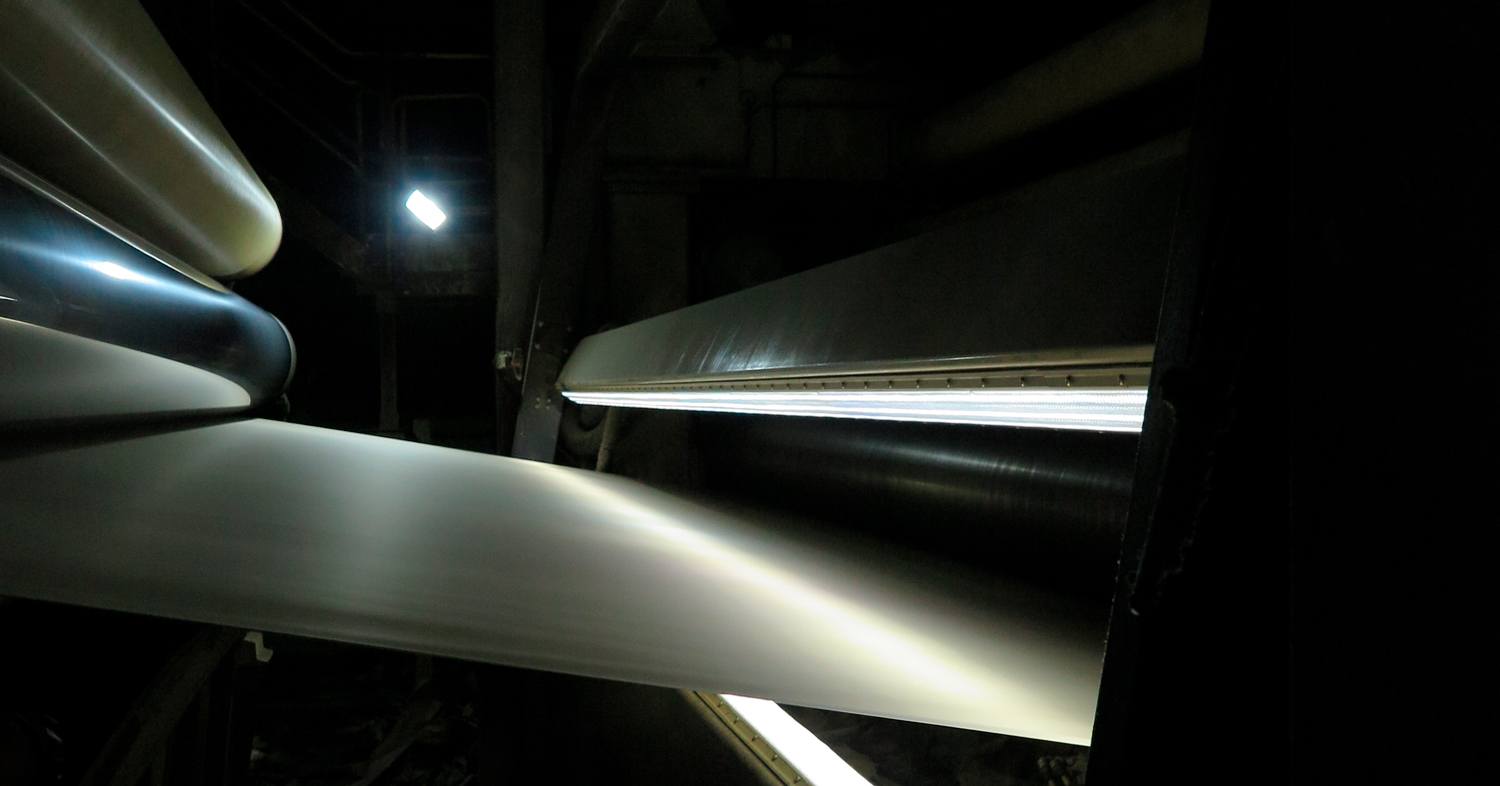
Different defects need a specific measurement geometries for inspecting product surfaces. Procemex has developed a variety of measurement geometries for detecting and inspecting different paper defects.
High Angle Web Inspection
One-profile measurement geometry for inspecting surface
Web inspection geometry using reflected light to illuminate and detect product surface defects. The most typical detection angle is 90 degrees with 60 degree illumination angle. In special conditions these angles may vary. High angle reflection geometry is a suitable solution when it is only relevant to detect product surface defects.
Low Angle Web Inspection
One-profile measurement geometry for detecting and classifying coated product surface defects
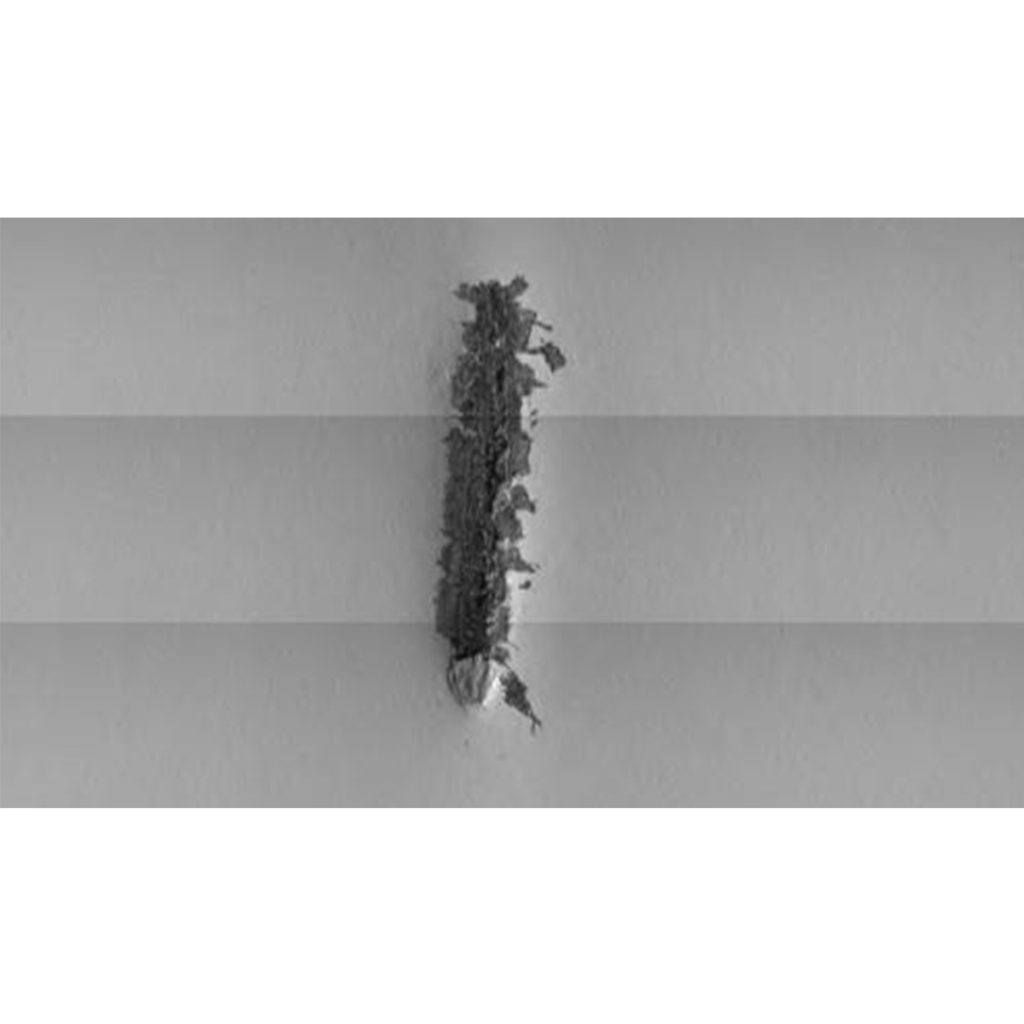
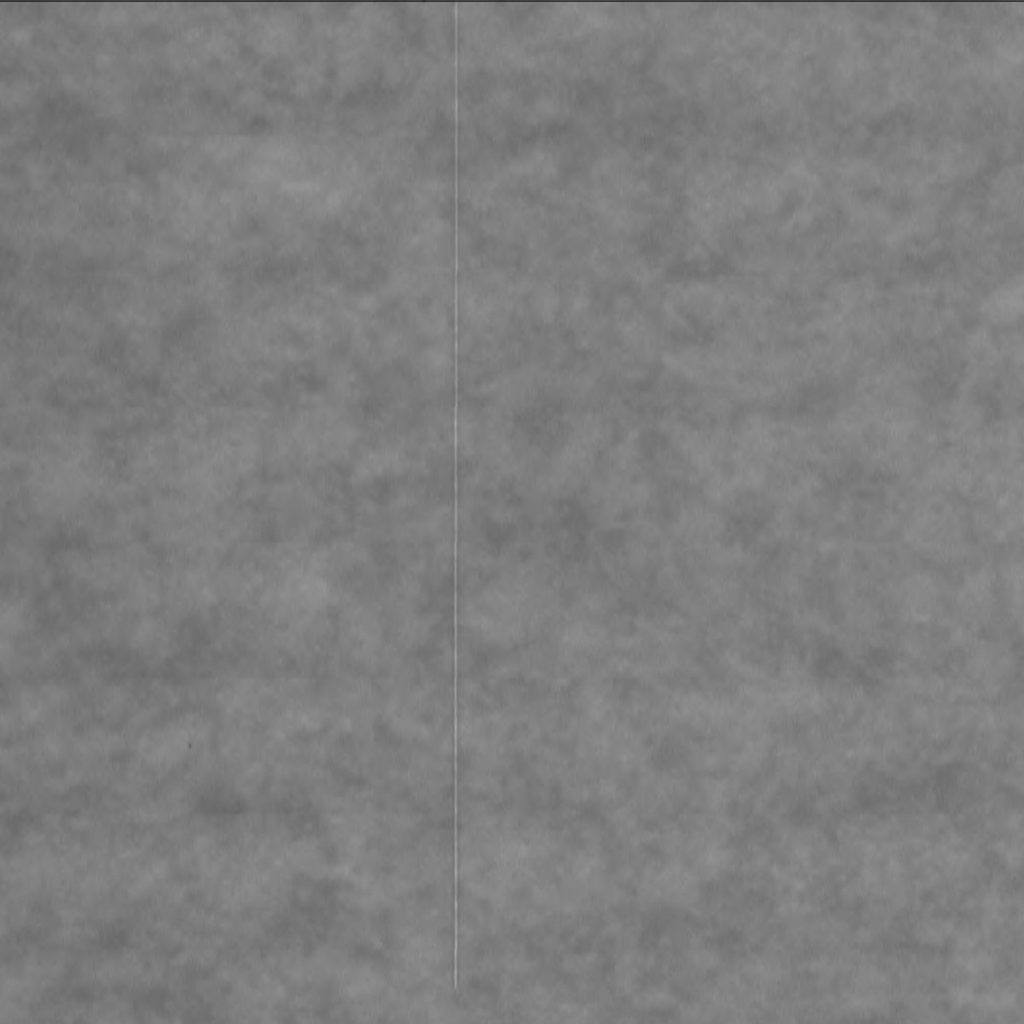
The low angle inspection geometry uses typically 15-20 degree camera angle and 15-20 degree illumination angle to provide a mirror reflection from the paper surface. This enables to detect very small coating defects, such as streaks or coating skips. It should be however noted, that low angle reflection is not replacing a high angle reflection due to the nature of the mirror reflection. It can not detect even very visible spots, if they are over-coated.
Transmission Web Inspection
One-profile measurement geometry for transparent grades
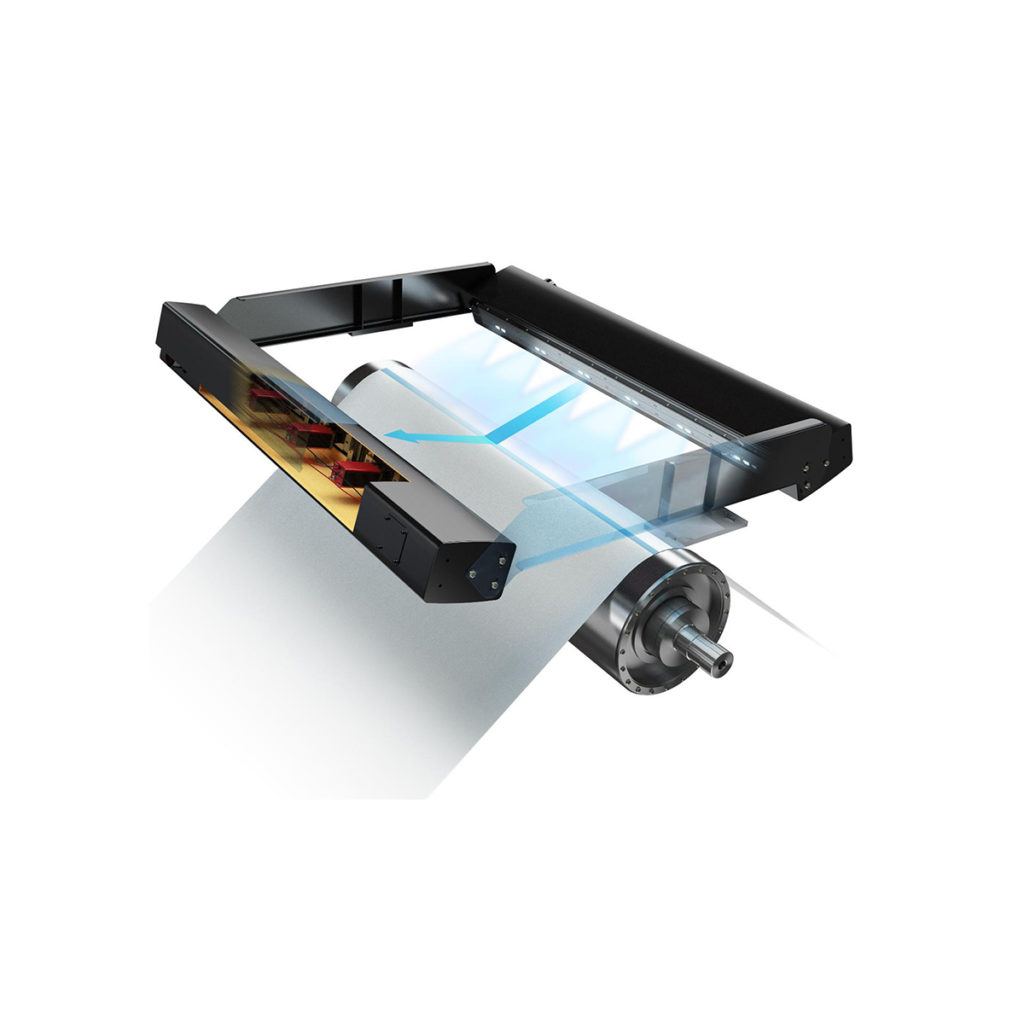
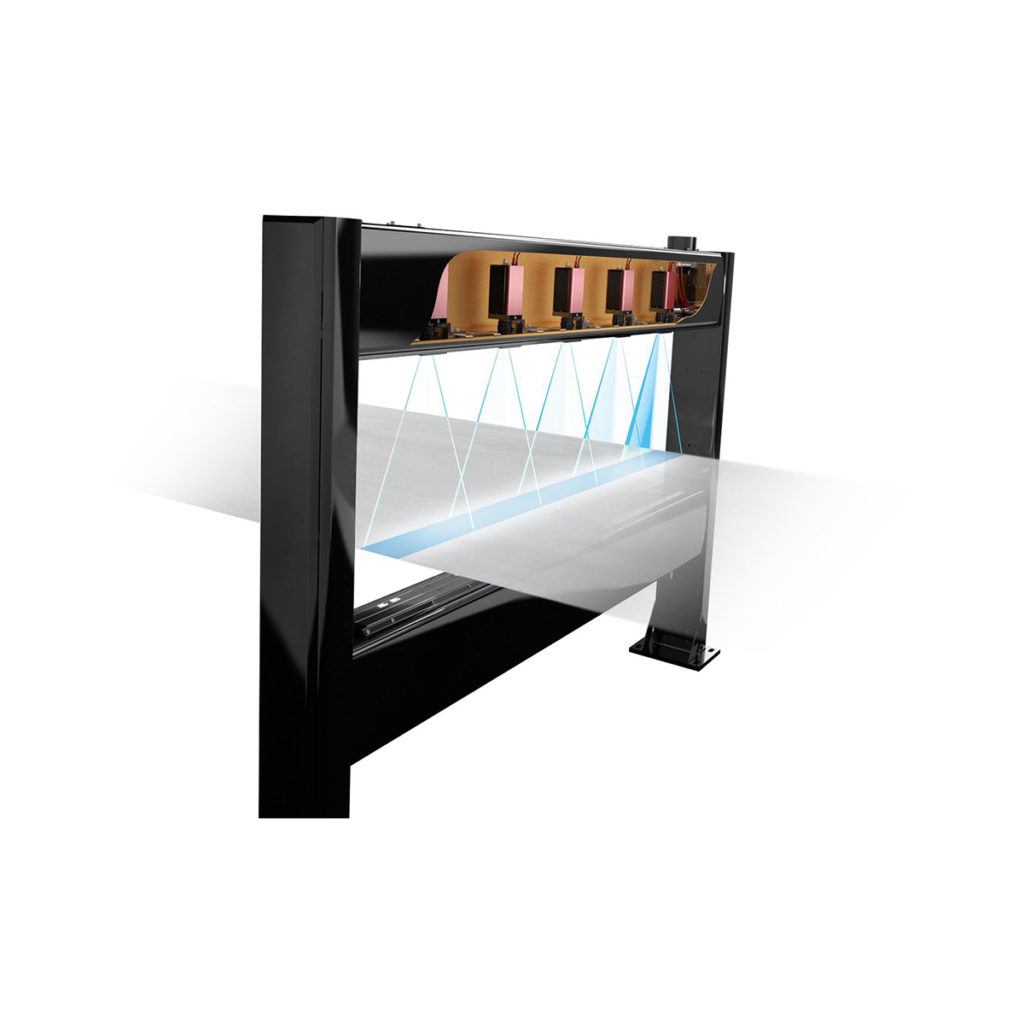
The most typical web inspection geometry is using transmitted light through the product. Transmitted light is a suitable solution when it is not relevant to know if defects are located in the middle of product or on product surface.
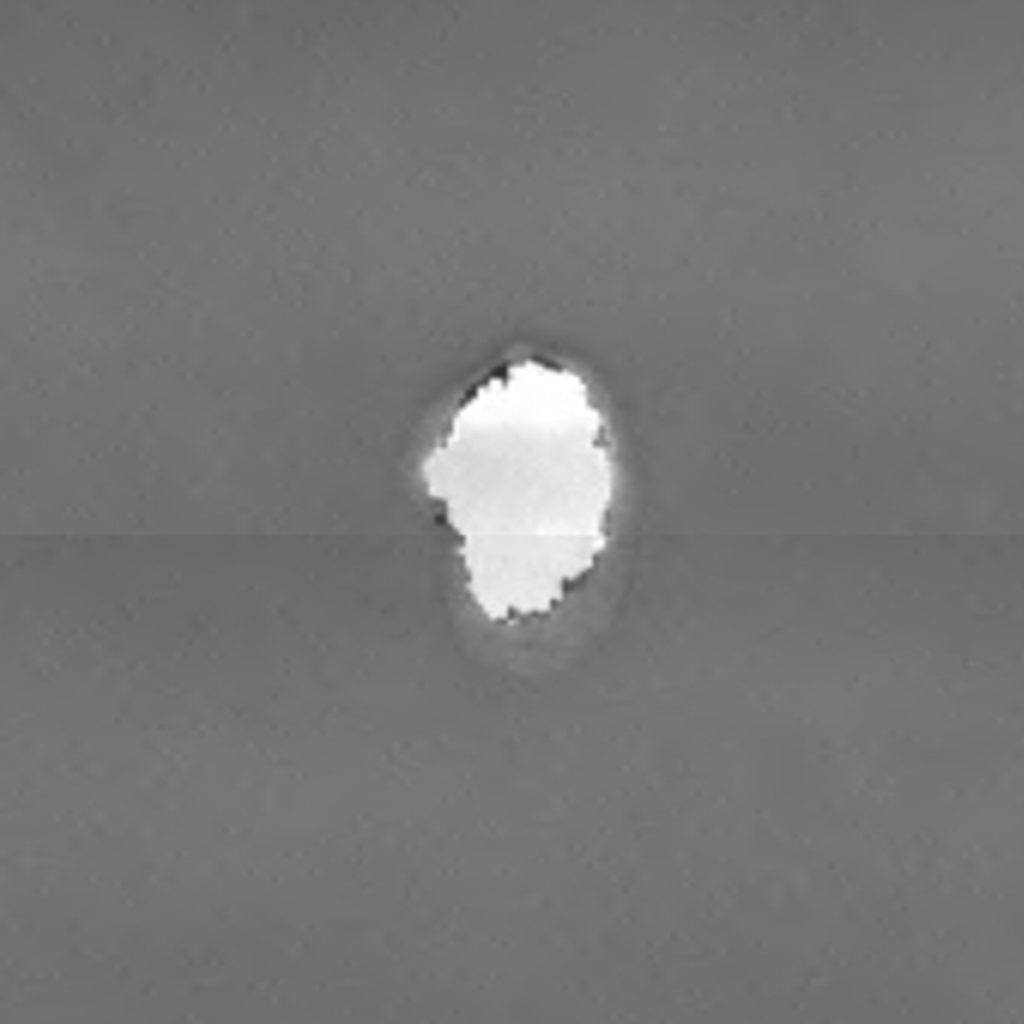
The main improvements have come mostly from the reliability of the cameras and excellent resolution in demanding areas of the wet end. Furthermore, the combination of WIS and WMS has enabled the papermaker to detect defects in the sheet which could cause sheet breaks.
Gary le Roux | Visy Tumut
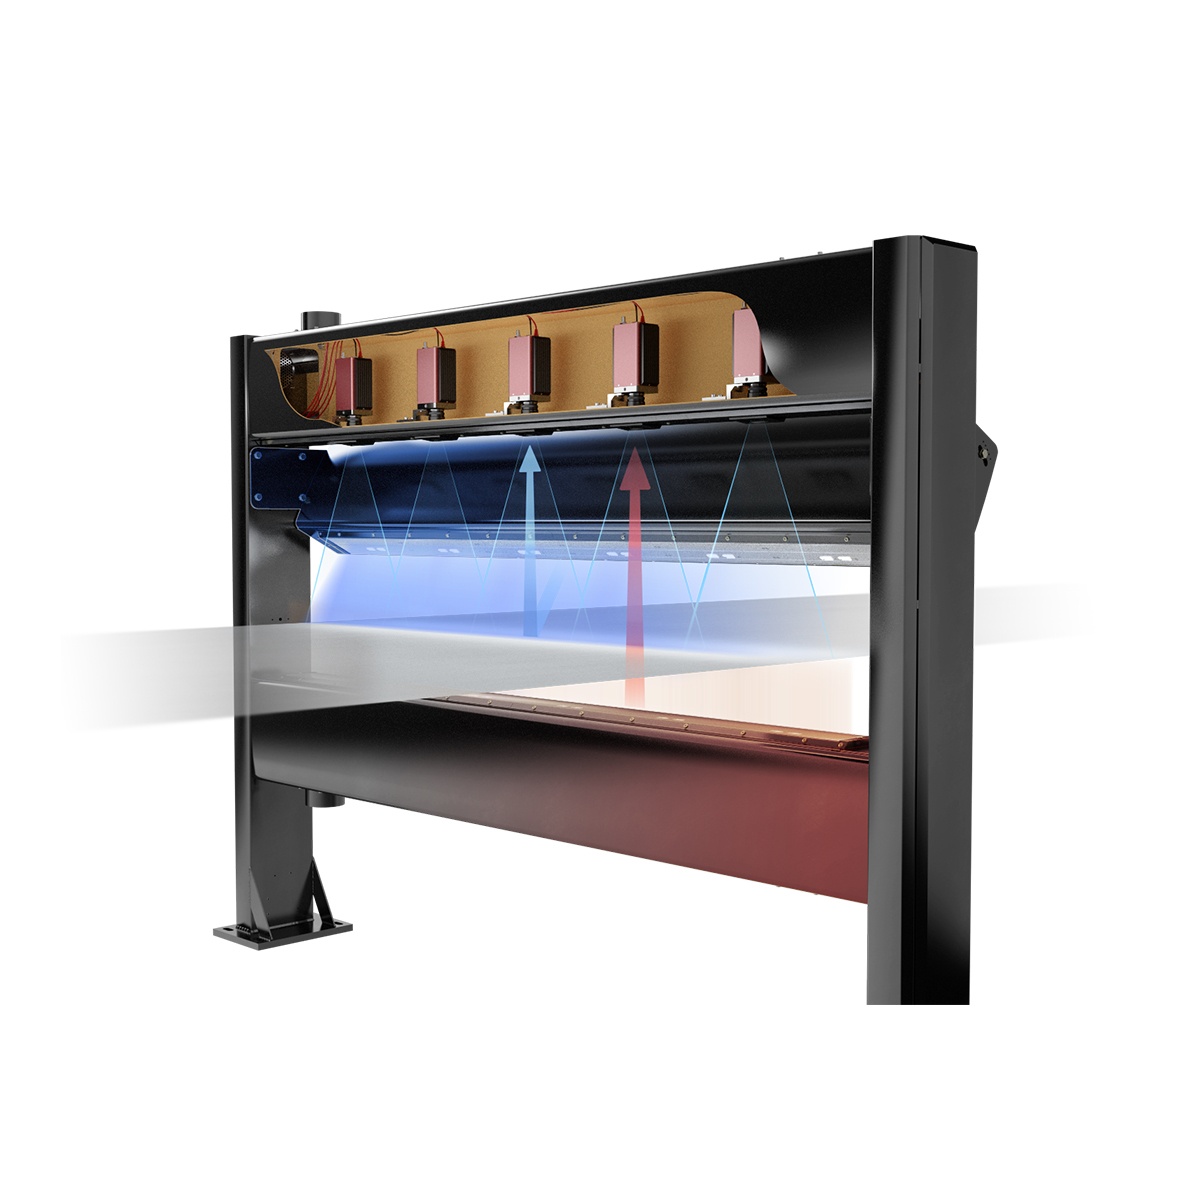
High Angle and Transmission Web Inspection
Two-profile measurement geometry for detecting and classifying surface defects and defects inside the product
This inspection geometry uses alternating illumination light to perform two independent measurements: high angle reflection and transmission inspection. As both inspections are performed during separated light pulses, there is no spill-over effects between different light profiles as is typical with line-scan camera-based web inspection systems. One smart camera controls two frame light pulsing and provides independently adjustable pulse duration for both measurements based on paper grade in hand. Two-profile measurement provides a good foundation for more advanced and reliable defect classification.
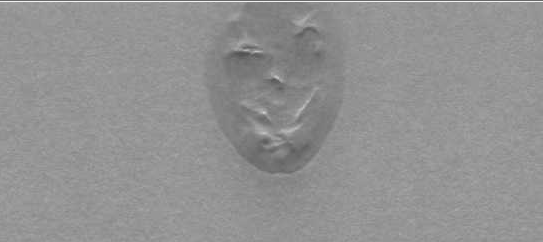
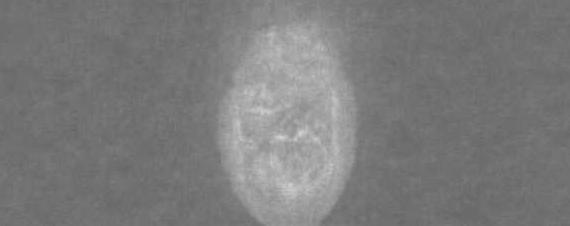
Crossed (30 degree) Side Light Web Inspection
Two-profile measurement geometry for detecting and classifying all defects focusing on surface wrinkles and de-formation
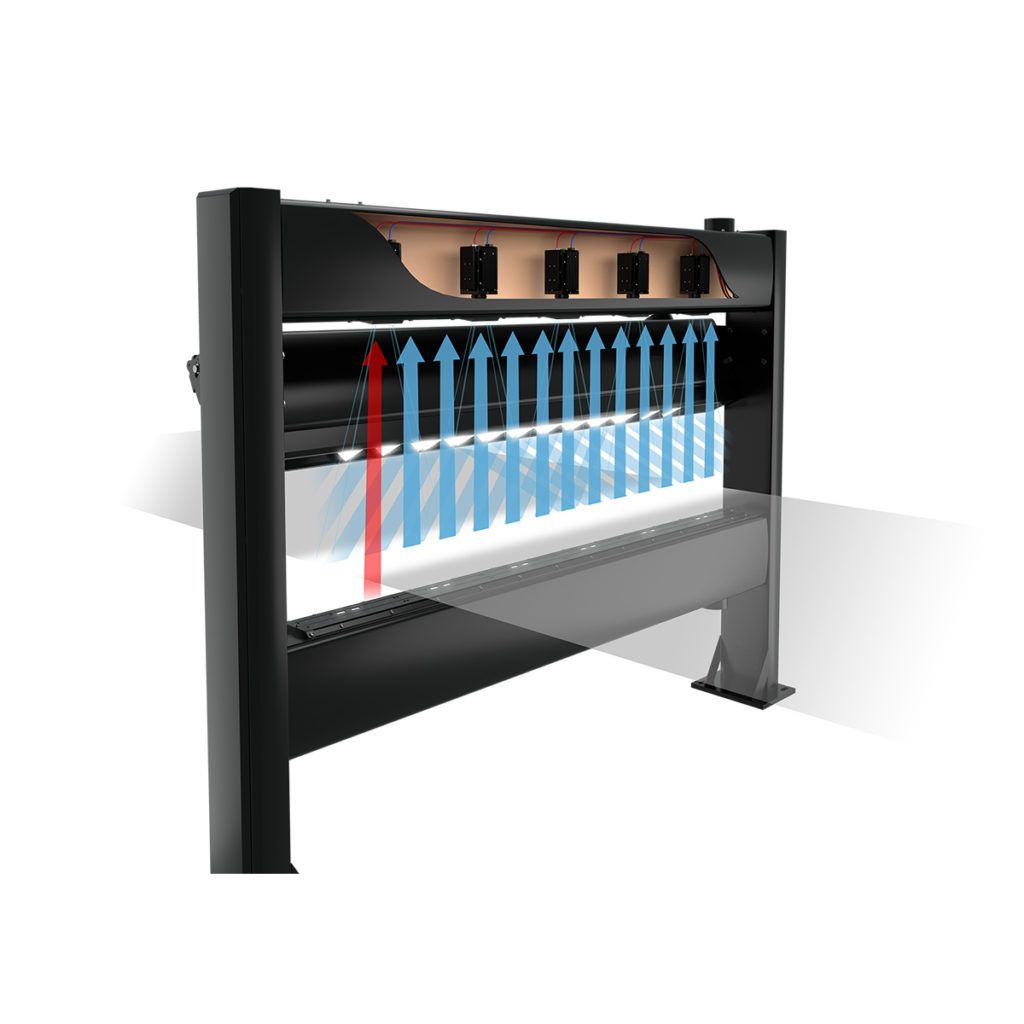
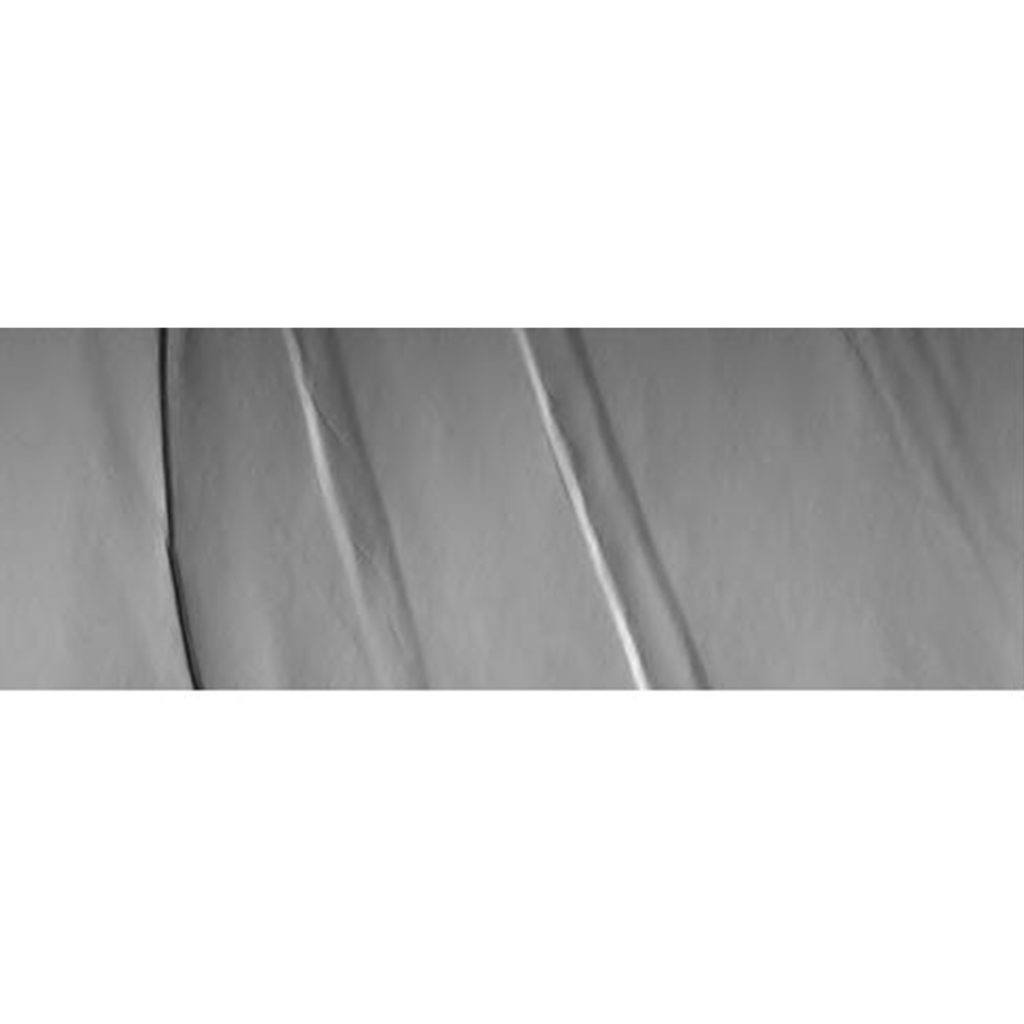
Crossed side light geometry is often combined with transmission measurement geometry. This geometry enables to detect very small wrinkles and surface de-formation by creating a shadow from side direction. The illumination angle is very low in order to be able to provide adequate shadow effect.
As the light frame shifts in side direction approximately 700 mm due to light frame distance to the paper web, the crossed side light was invented and patented in order to illuminate front side from back side and vice versa. This enables to position frames within machine columns and there is no need to find a place for a light frame sticking 1000 mm out from machine frame.
Even though front side and back side illumination pulse takes place subsequently, they still use only one data processing profile. Crossed illumination solution also eliminates a problem to illuminate over (through) curly paper edge as it illuminates from middle towards paper edges.

3D and Transmission Web Inspection
Two-profile measurement geometry for detecting and classifying all surface defects and defects inside product keeping focus on dents and elevated defects.
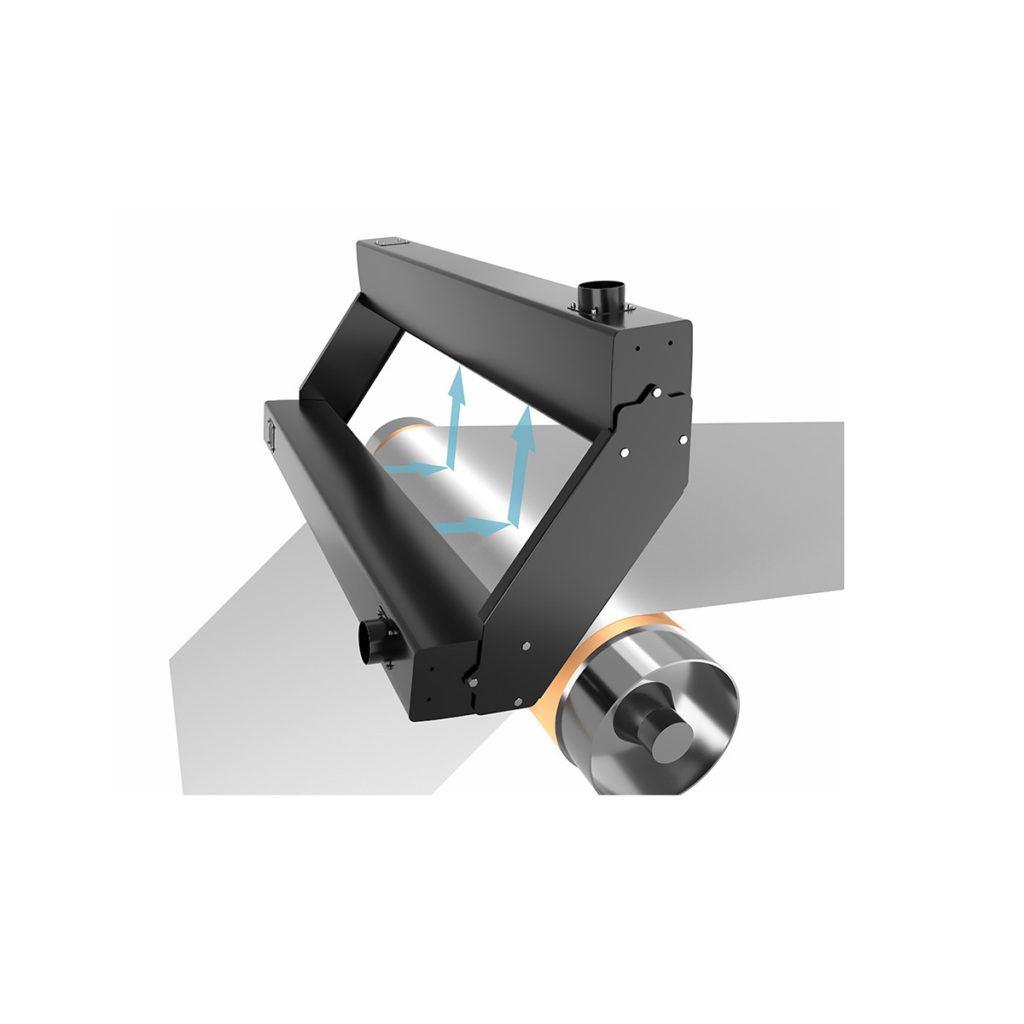
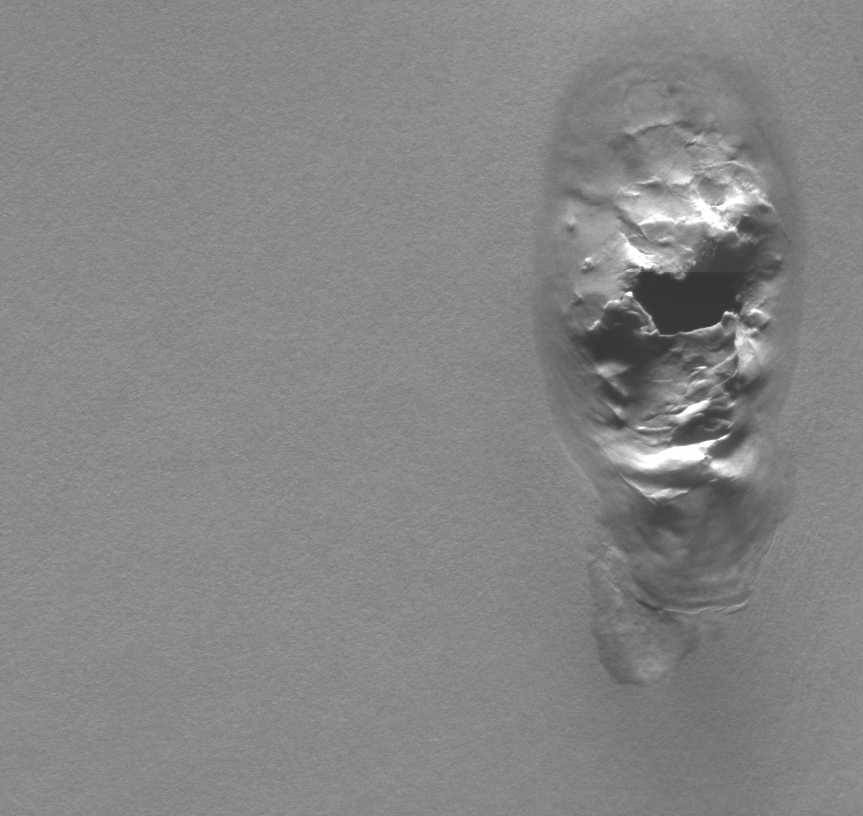
The 3D web inspection with transmission is performed on free sheet. This geometry enables to detect very small dents and elevated defects in a very high accuracy together with transmitted defects inside the product. It is based on around 10 degree illumination angle and 90 degree camera viewing angle and can detect all other surface defects on standard paper and board machines.
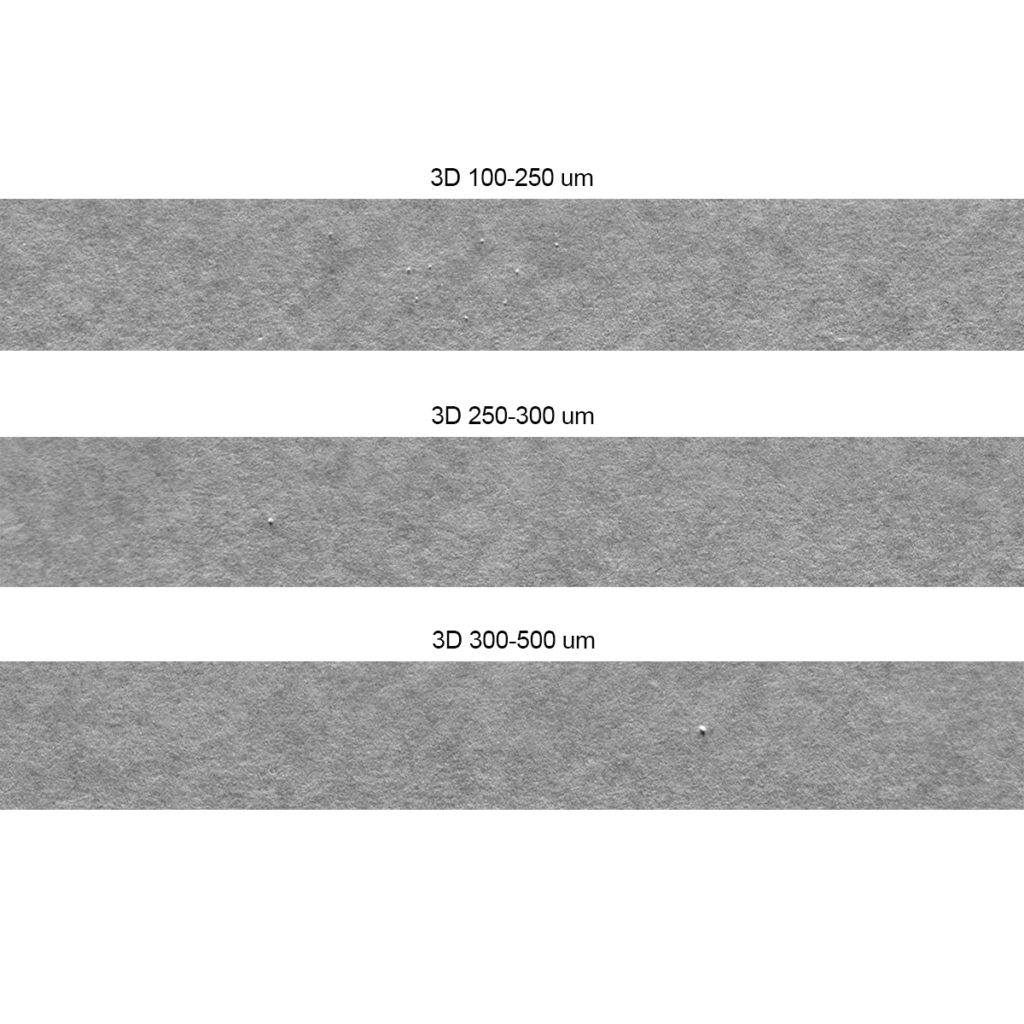
The resolution is typically 0.15×0.15 mm requiring above 600 MHz data processing on a 1000 m/min machine. This enables to detect elevated defects starting from 100 um. The detection of dents and elevated defects requires a special algorithm developed by Procemex in collaboration with leading Scandinavian liquid packaging board producers.
See the images taken with Procemex 3D Defect Detection Technology of a paper web moving over 1000 m/min.
WATCH VIDEO
3D and High Angle Reflection Web Inspection
Two-profile measurement geometry for detecting and classifying all surface defects with smooth and wrinkled products keeping focus on dents and elevated defects.
The 3D web inspection is performed typically having paper against supporting roll. This geometry enables to detect very small dents and elevated defects in a very high accuracy. It is based on around 10 degree illumination angle and 90 degree camera viewing angle and can detect all other surface defects on standard paper and board machines. With products having smooth and patterned surfaces, it is necessary to combine high angle reflection detection with 3D measurement to be able to handle various needs of all grades.

Success Story: Nippon Dynawave Packaging increases superior product quality with Procemex Web Inspection solution
Nippon Dynawave Packaging, manufacturer of the highest quality paperboard for cartons and cups, has chosen Procemex to provide a 3D Crystal Web Inspection solution for their L3 product line. The Procemex 3D web inspection solution will ensure that the product of the paper machine will be free from paper machine defects such as indents, outdents, wrinkles, and other by-products of the paper making process.
Frames in Pick-up Web Inspection
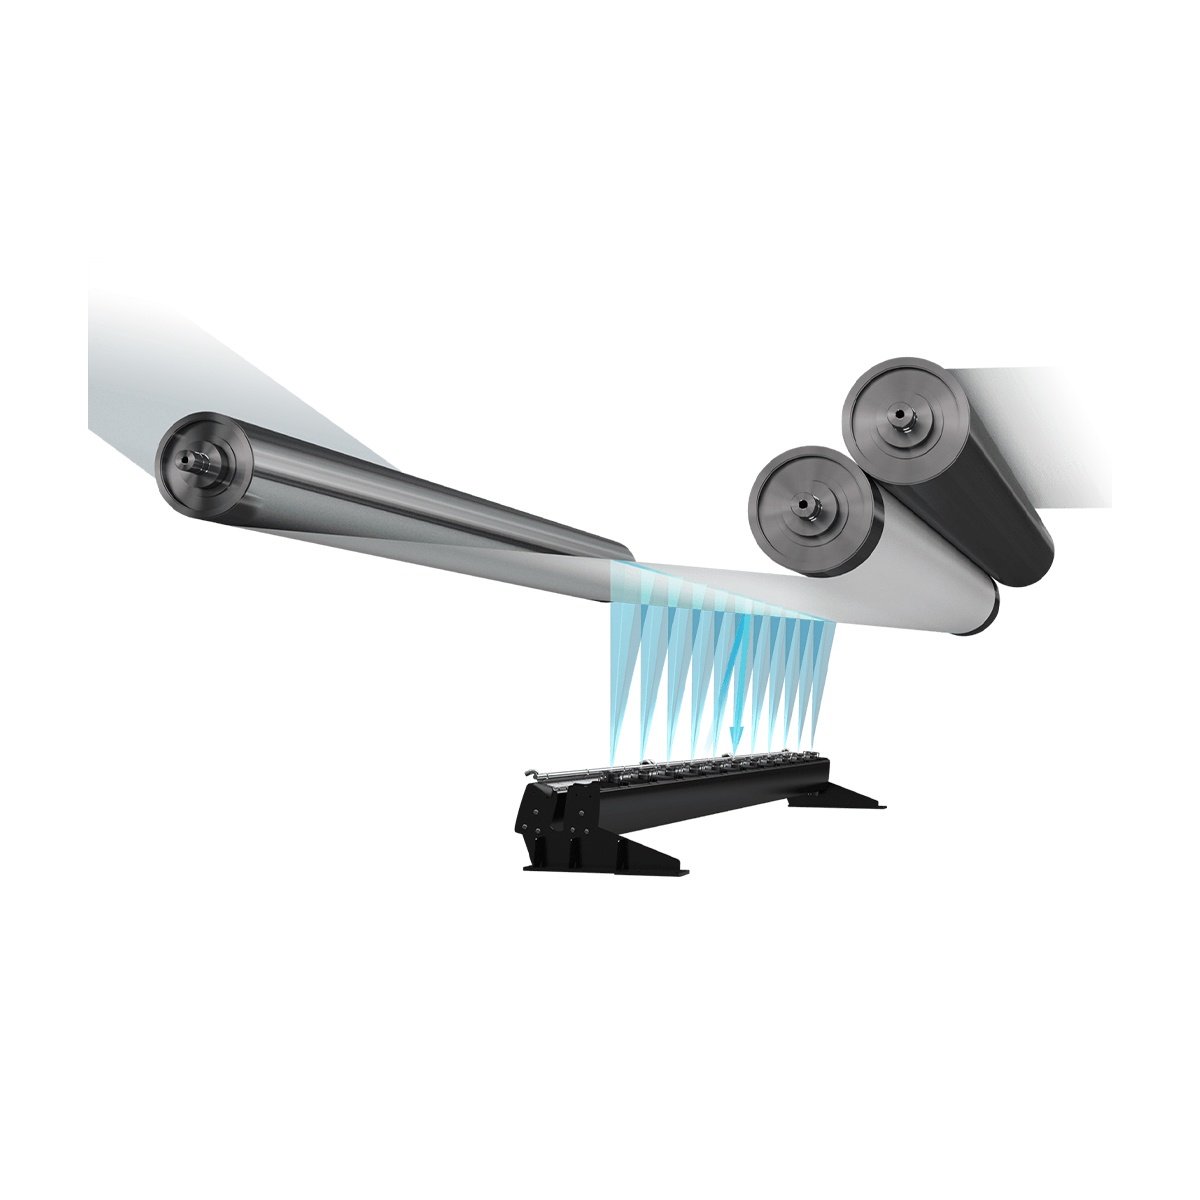
Pick-up web inspection is creating full width press section visibility over web break and paper defect root causes.
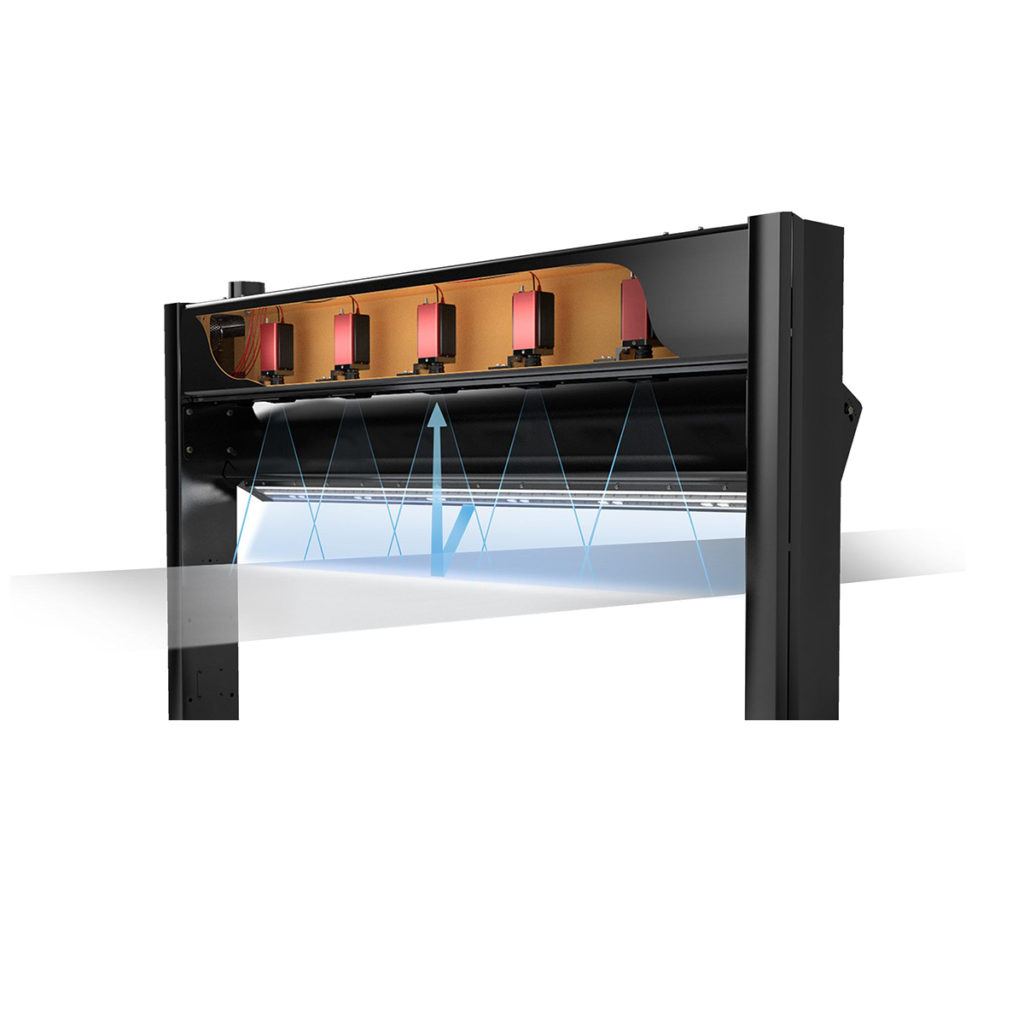
Carbon fiber beams are designed, engineered and constructed specifically for the purpose of absorbing machine-induced vibration. They are sturdy enough for the widest, over 12m wide machines in the world. The camera and strobe LED illumination modules are cooled by blown air through the camera and light beams.
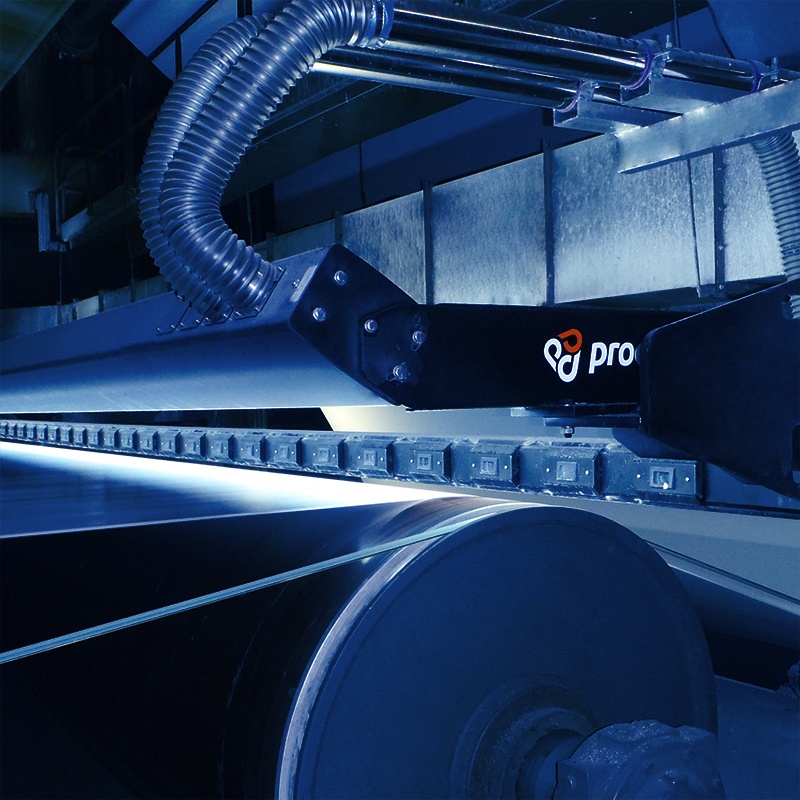
Camera and light beams support different inspection geometries, starting from simple transmission or reflection measurement extending to complex top and backside multi-illumination measurements.
- Compact smart cameras inside the camera beam
- 100% visibility with pinhole cleaning – no moving parts
- Both web monitoring and web inspection functionality available
- Continuous visibility over time as no wearing protection window
- No electronics cards or power supplies inside the beam
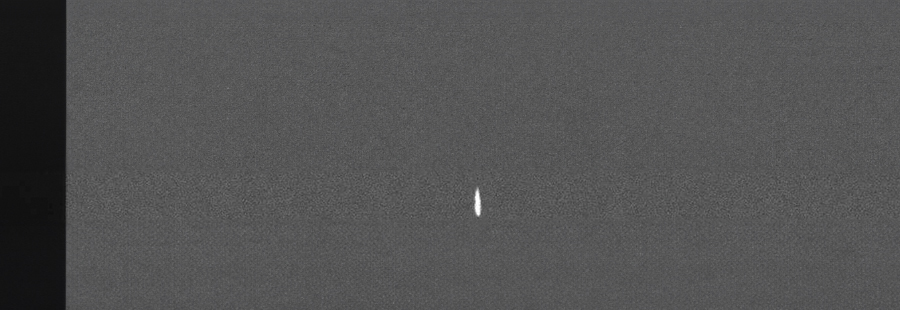
Superior UV-light based Oil Detection in Food Packaging
UV-light technology is transforming the oil defect detection on food packaging board with its ability to detect previously invisible oil defects using ultraviolet light. UV-light illuminates oil defects, making them visible on the packaging board.
UV-light-based Web Inspection System emerges as a powerful new tool, providing superior visibility and enabling reliable real-time quality control. With the patented Procemex UV-light Web Inspection technology, we reach almost 100% accuracy in spotting oil defects.
The patented UV-light oil defect detection technology can be integrated into all delivered Procemex Web Inspection systems. Also, to mill’s existing Procemex Web Inspection frames, offering a cost-effective way to elevate your current Web Inspection capabilities.
How our Web Inspection system recognizes and analyzes defects on your paper
To better understand how our Web Inspection system recognizes and analyzes defects on your paper, we encourage you to send us a paper defect sample for analysis.
Our experienced testing team will conduct a comprehensive WIS analysis once your samples arrive, providing you with valuable insights that will help you assess the suitability of our solutions in your mill’s unique production environment.
