High Angle and Transmission Web Inspection
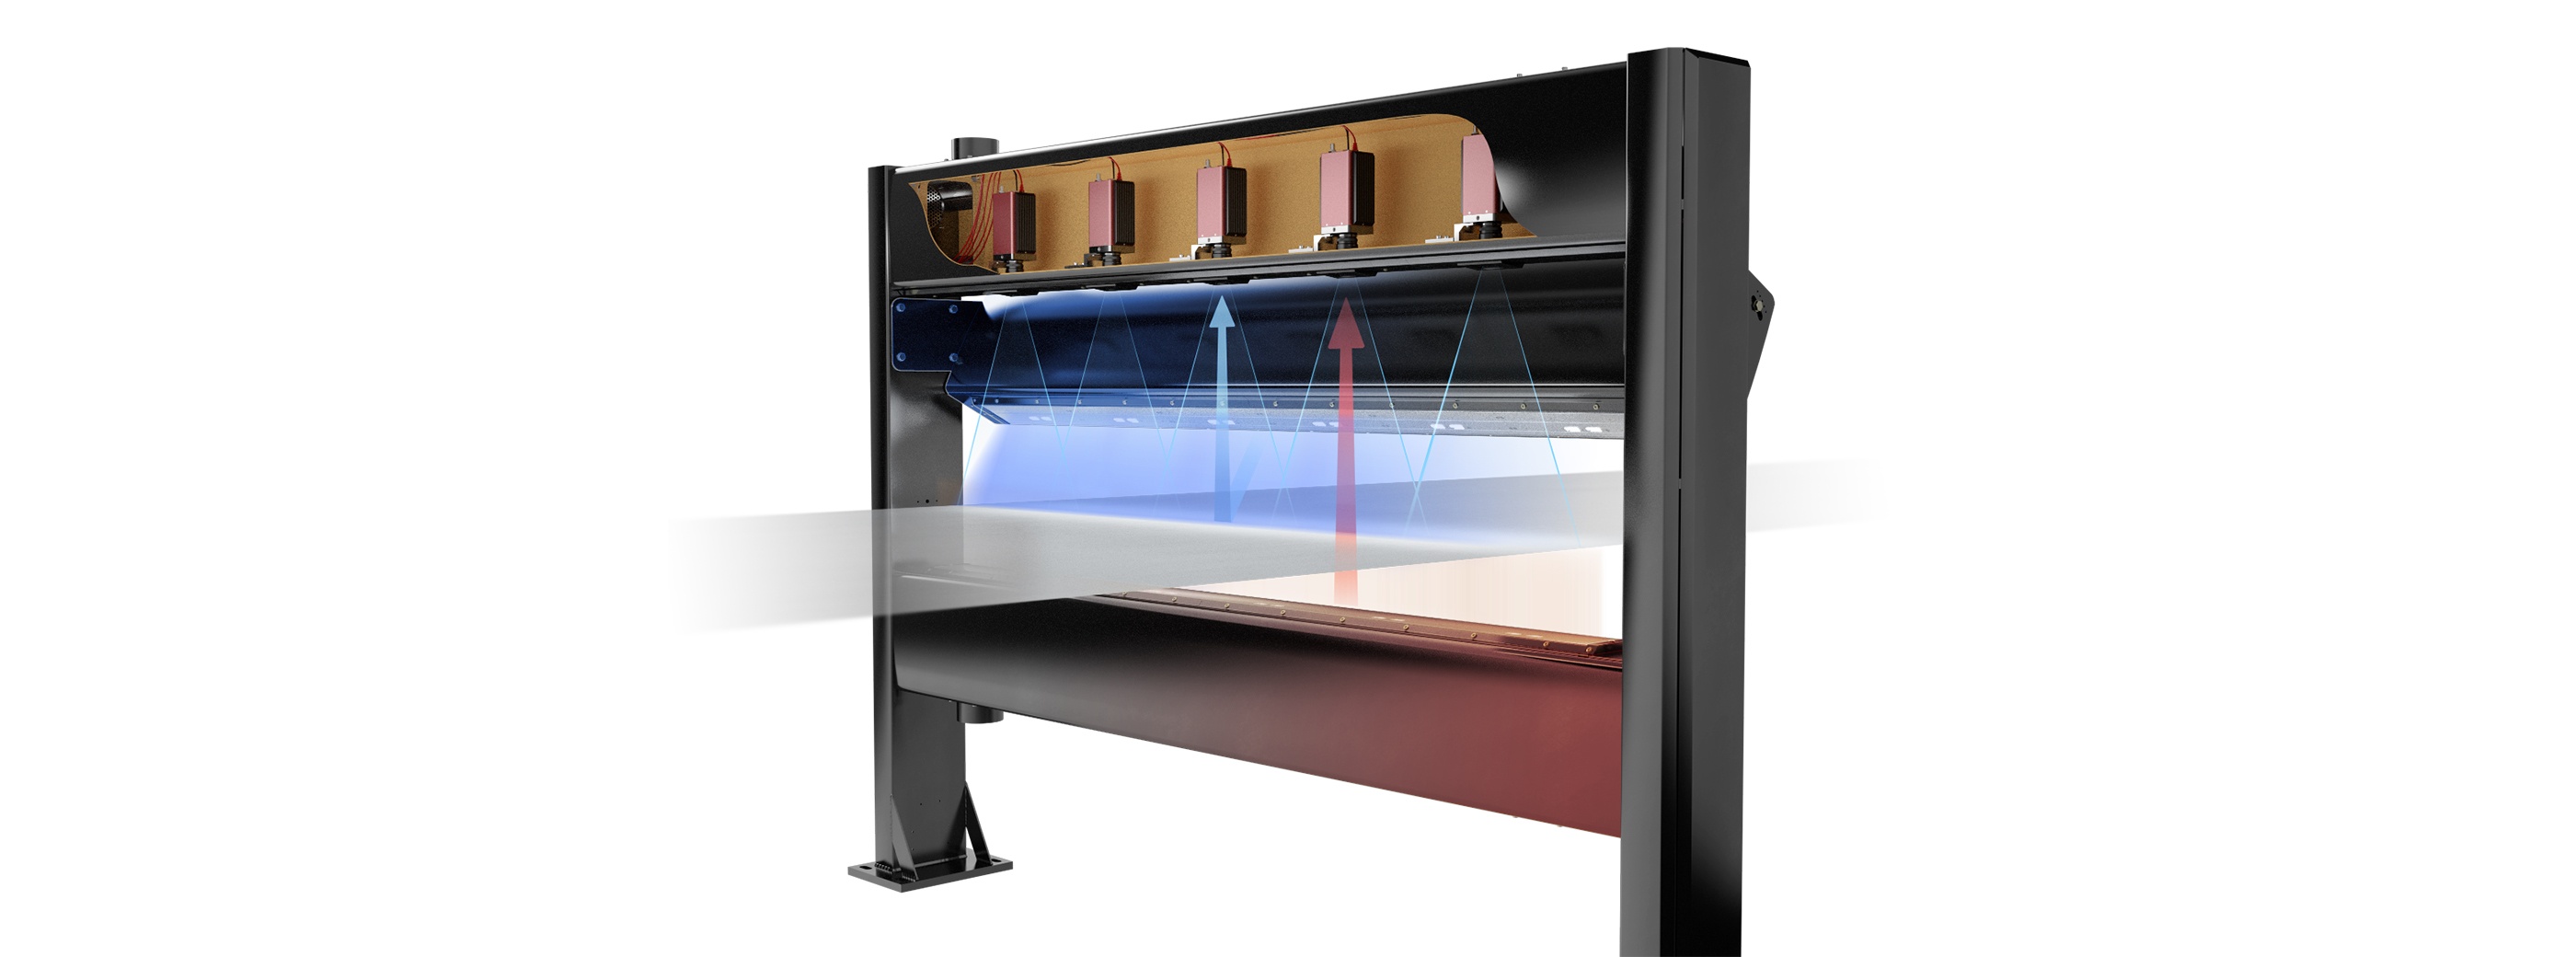
Two-profile measurement geometry for detecting and classifying surface defects and defects inside the product
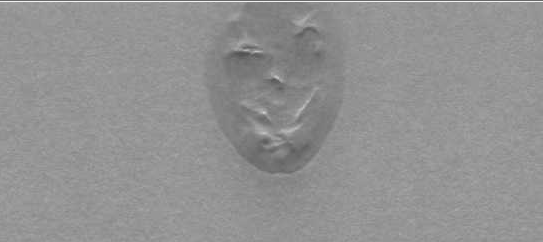
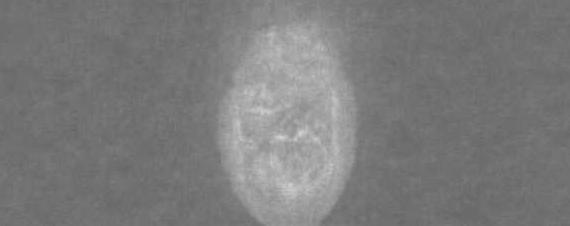
This inspection geometry uses alternating illumination light to perform two independent measurements: high angle reflection and transmission inspection. As both inspections are performed during separated light pulses, there is no spill-over effects between different light profiles as is typical with line-scan camera-based web inspection systems. One smart camera controls two frame light pulsing and provides independently adjustable pulse duration for both measurements based on paper grade in hand. Two-profile measurement provides a good foundation for more advanced and reliable defect classification.

